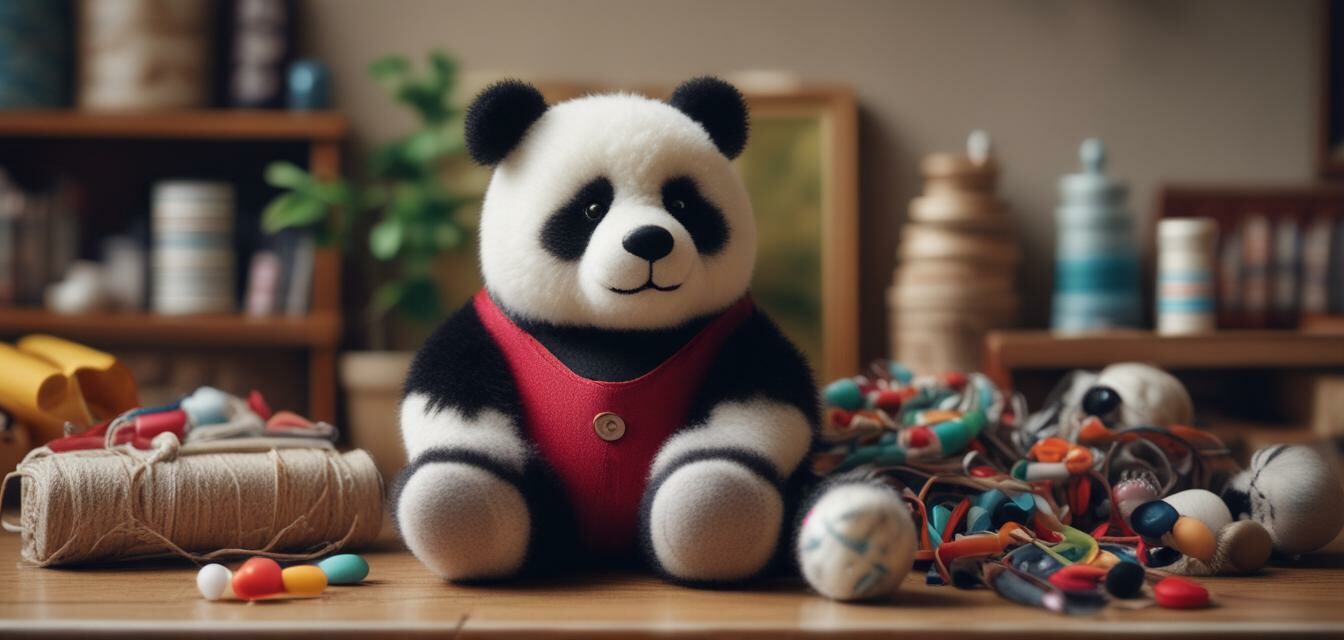
How to Make Your Own Panda Plush at Home
Key Takeaways
- Creating a panda plush toy can be a fun DIY project that allows for customization.
- Essential materials include fabric, stuffing, sewing tools, and a pattern.
- Follow step-by-step instructions to ensure a cute and cuddly finished product.
- Consider personal touches and unique ideas to make your panda plush special.
- For additional creativity, explore our panda accessories.
Making your very own panda plush is not only a delightful craft project but also a way to create a special gift or keepsake. In this guide, we will walk you through all the necessary steps and materials to bring your cuddly panda to life. Whether you are a seasoned crafter or a beginner, this fun DIY tutorial is designed for you!
Materials You’ll Need
Before starting your panda plush project, it’s essential to gather all the necessary materials.
| Material | Description |
|---|---|
| Black and white fabric | Soft fabric like fleece or felt to create the panda's body. |
| Stuffing | Polyester fiberfill or cotton to fill the plush toy. |
| Sewing supplies | Needle, thread, and scissors for assembling the toy. |
| Panda pattern | A printed pattern to cut your fabric into the correct shapes. |
| Embroidery thread | For detailing the eyes, nose, and mouth. |
Step-by-Step Instructions
- Prepare Your Pattern: Print a panda plush pattern from an online source or draw one yourself. Make sure to include all necessary parts—head, body, arms, and legs.
- Cut Your Fabric: Using your pattern, cut out the pieces from the white and black fabric. You’ll need more black fabric for the ears and limbs.
- Sew the Details: Use embroidery thread to stitch eyes, a nose, and mouth onto the face of the panda before you sew the head together.
- Sewing the Body: Start by sewing the black parts (for ears and limbs) onto the white body piece. Once attached, sew the body pieces together, leaving a small opening at the bottom for stuffing.
- Stuff Your Panda: Carefully fill your plush with stuffing, ensuring it’s evenly distributed and soft to the touch.
- Close it Up: Once stuffed, sew up the opening securely, ensuring no stuffing can escape.
- Final Touches: Review your panda plush, making any final adjustments or stitches for added strength and detail.
Tips for Customization
Customization Ideas
- Add a personal touch by using fabric with your favorite colors or patterns.
- Consider incorporating a small pocket in the plush for storing little treasures.
- Experiment with different sizes—make a mini panda plush or a larger one for a more dramatic effect.
- Use fabric markers to draw additional features like spots or fun designs.
Why Make Your Own Panda Plush?
Creating your own panda plush allows for amazing customization and creative expression. Plus, these charming toys can make wonderful gifts! For more options, you can check out our panda gifts for those who prefer ready-made items.
Pros
- Customization according to your style.
- Great way to bond with friends or family during crafting.
- Unique handmade item that can’t be found in stores.
Cons
- Time-consuming, especially for beginners.
- Requires sewing skills that may take time to develop.
- Material costs may add up.
Conclusion
Making your own panda plush toy is not only a satisfying project but also creates a sentiment that is hard to replicate with store-bought toys. With some sewing skills and creativity, you can create a panda plush that is entirely unique to you. For more panda-themed ideas, be sure to browse through our selection of panda and red panda buying guides.

